
Previously…
There have been a couple of attempts at the early P-40 in 48th scale over the years. The old Monogram kit and the Academy one have been around for quite some time. More recent offerings from Trumpeter and Bronco combine state-of-the-art, 21st-century-molding with some very questionable dimensional decisions. To put it in other words: their cockpits just suck. Both are considerably too shallow, which is most noticable when looking at the pilot’s seat, which looks like something a Lego figure would feel comfortable in.
Airfix to the rescue?
Airfix released their P-40B in October 2016, something I had been looking forward to since its first anouncement.
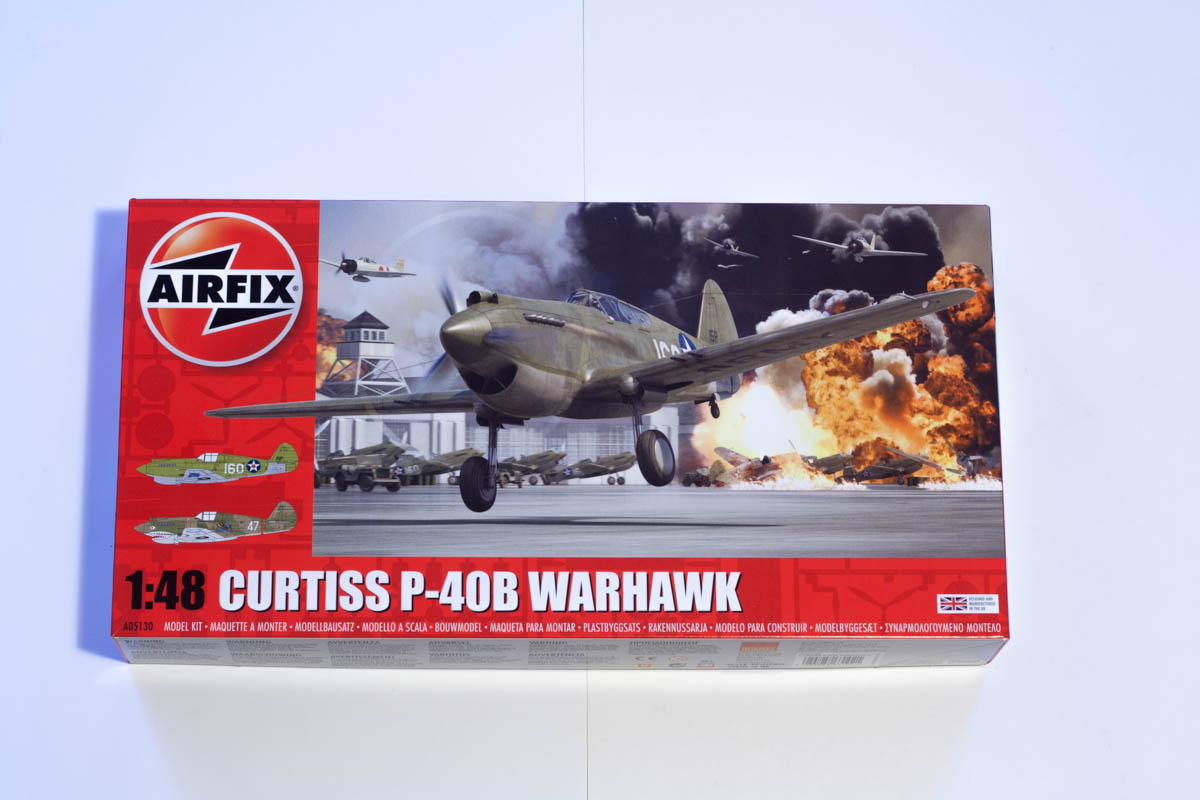
The kit comes in the new Airfix style – a glossy top-opening box with an action packed rendition of a P-40B taking off from Wheeler Field, Oahu, while a Zero is blowing stuff up in the background. The box also informs us that the kit number is A05130, consists of 106 parts and contains two marking options:
- P-40B Warhawk, flown by 2nd Lt. George Welch, 47th Pursuit Squadron, 15th Pursuit Group, Wheeler Field, Oahu, Hawaii, 7th dec 1941
- Hawk 81 A-2, flown by Flight Leader Robert “R.T.” Smith, 3rd Squadron, Kunming, China, June 1942.
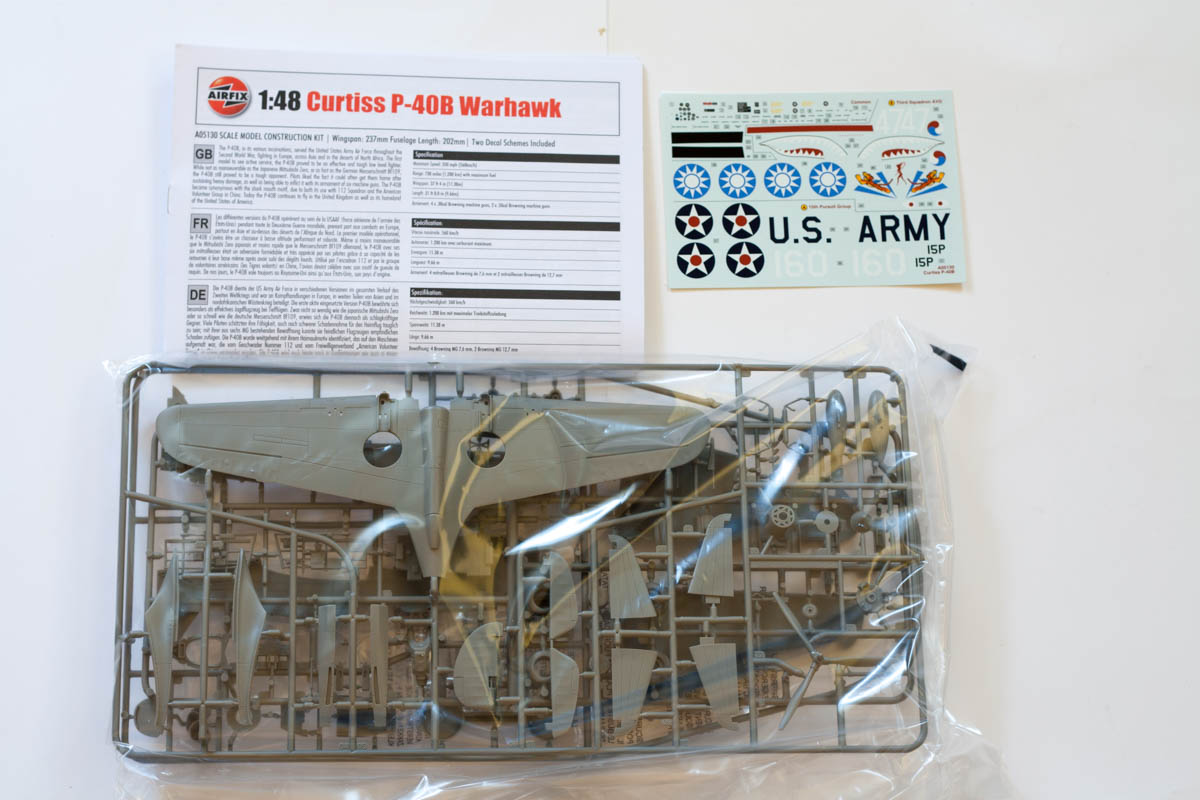
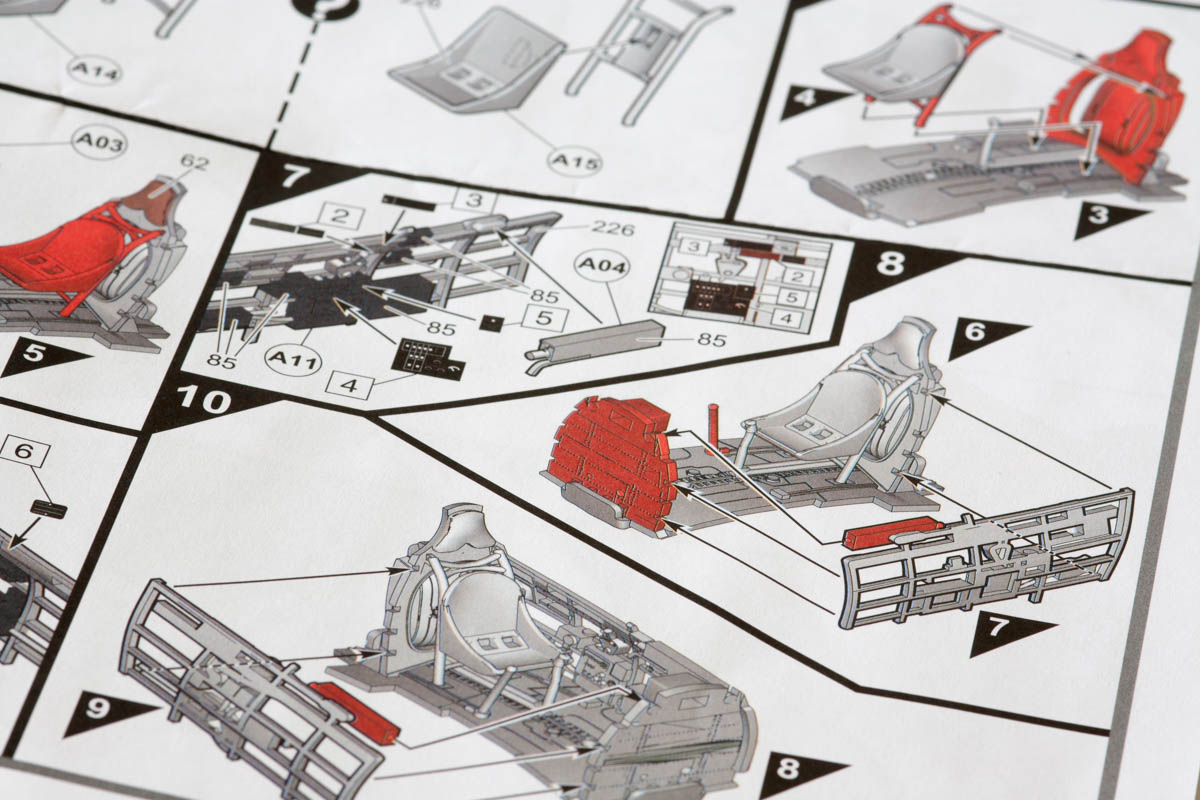
Inside the box we find one bag of sprues, all chucked together – although the clear parts are bagged seperately, which is nice. The instructions follow the new Airfix style with shaded drawings and colored sections. The painting instructions are also in full color, which makes following the cammo pattern for the China version quite simple.
Color callouts are in Humbrol paint numbers only. Without a table showing color names or other manufacturer’s equivalents, finding the correct colors might be a bit tricky for less experienced modellers.
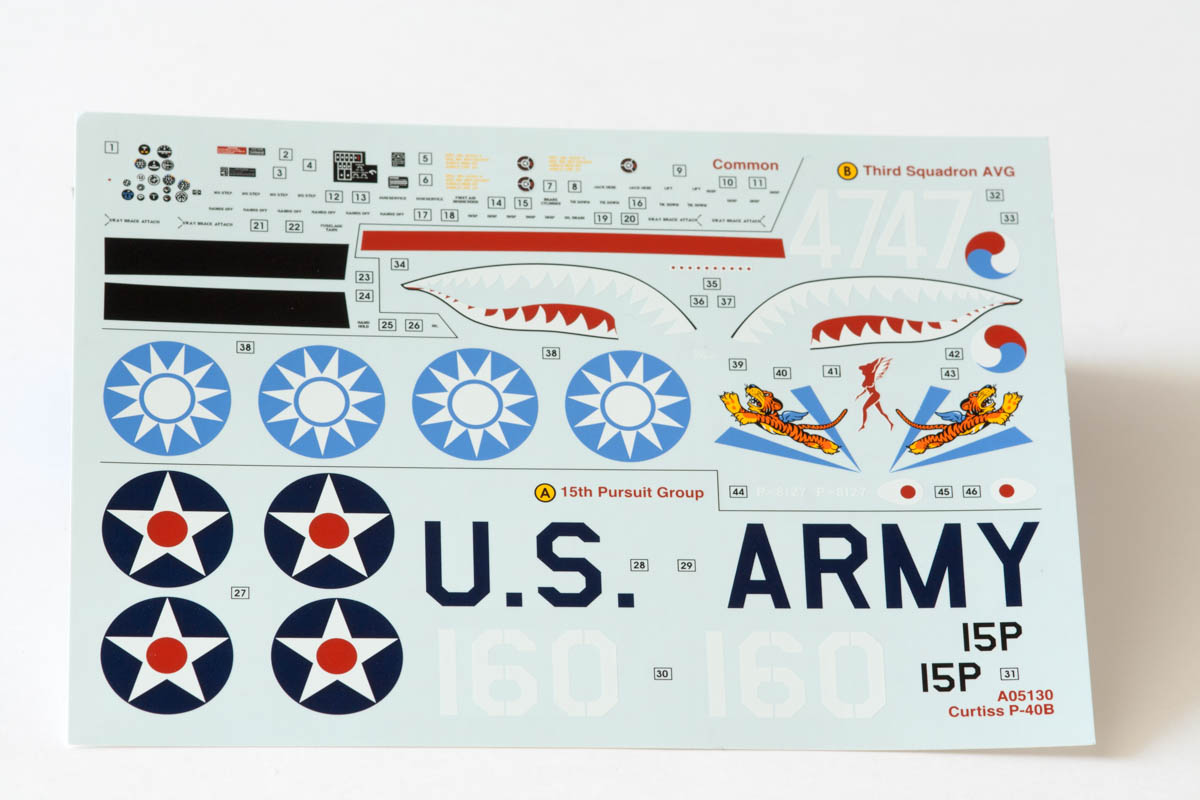
The decals look good on paper (duuh…), although they are a bit flat for my taste. Color density is excellent, colors are in register, stencil data is legible. There are even some cockpit placards included, something you do not see every day in a mainstream kit. Kudos to Airfix for that one! In the second part of this review we will see how the decals behave in action.
The parts…
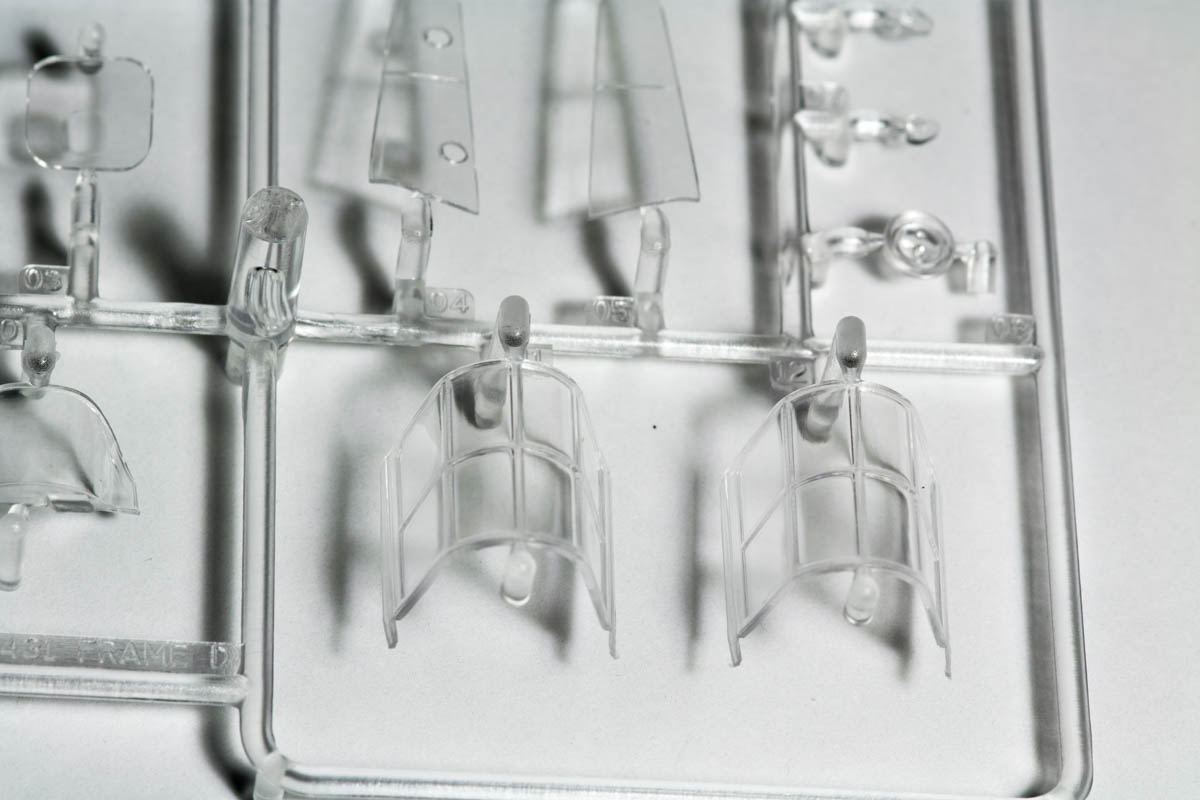
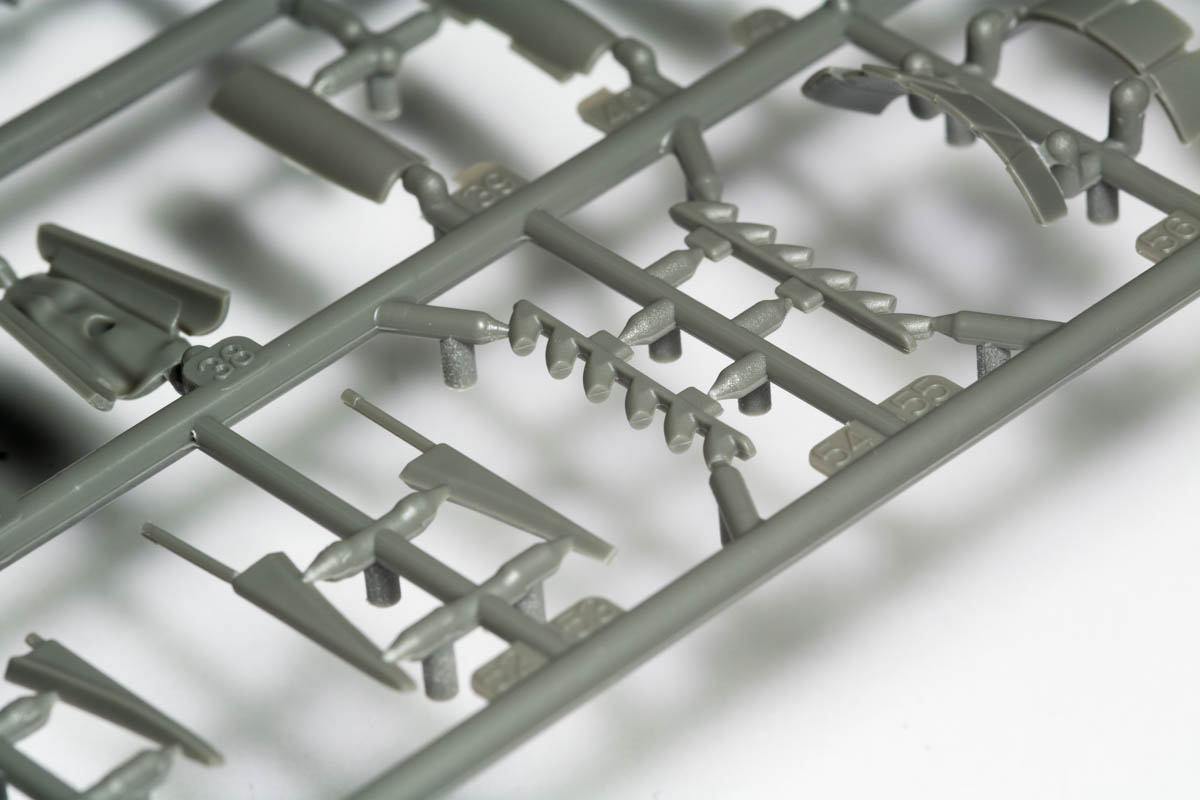
…come on three gray and one clear sprue, there are no PE parts included. A first look shows some nice detail, but quite a bit of flash and ejector pin marks in unfortunate places – suprising, especially for a brand new kit.
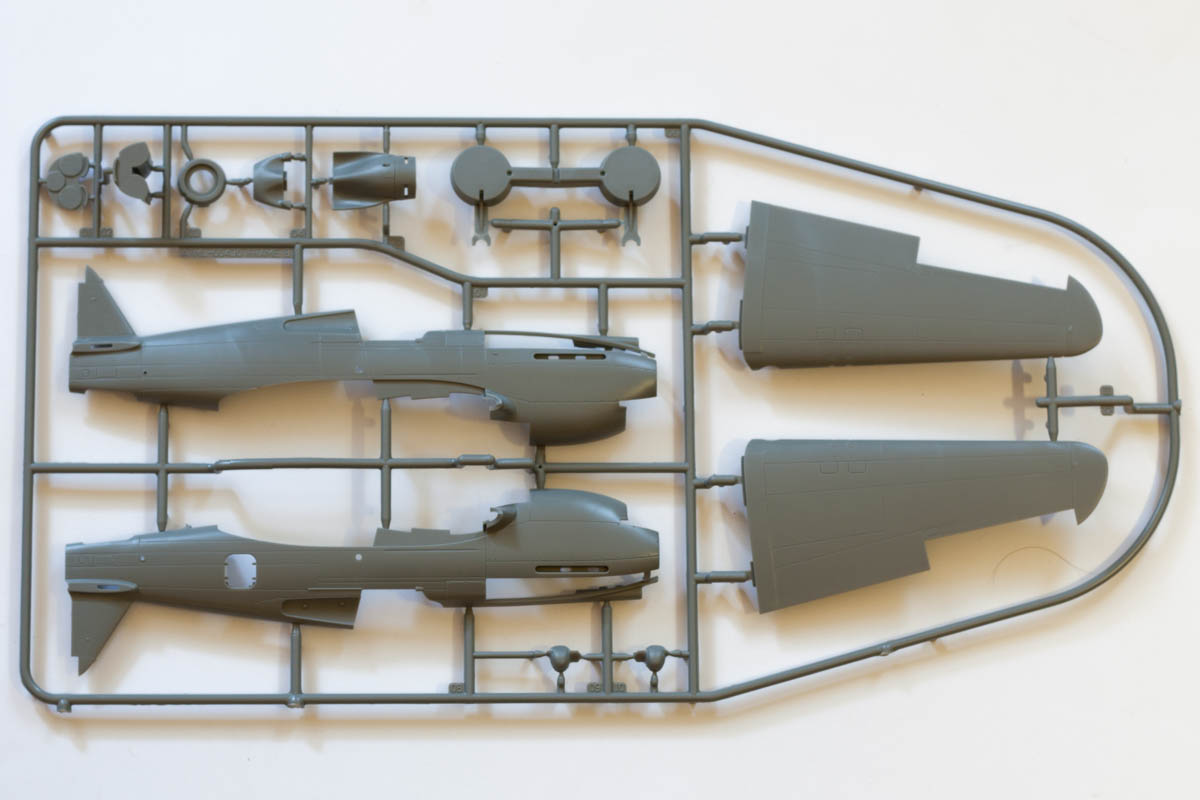
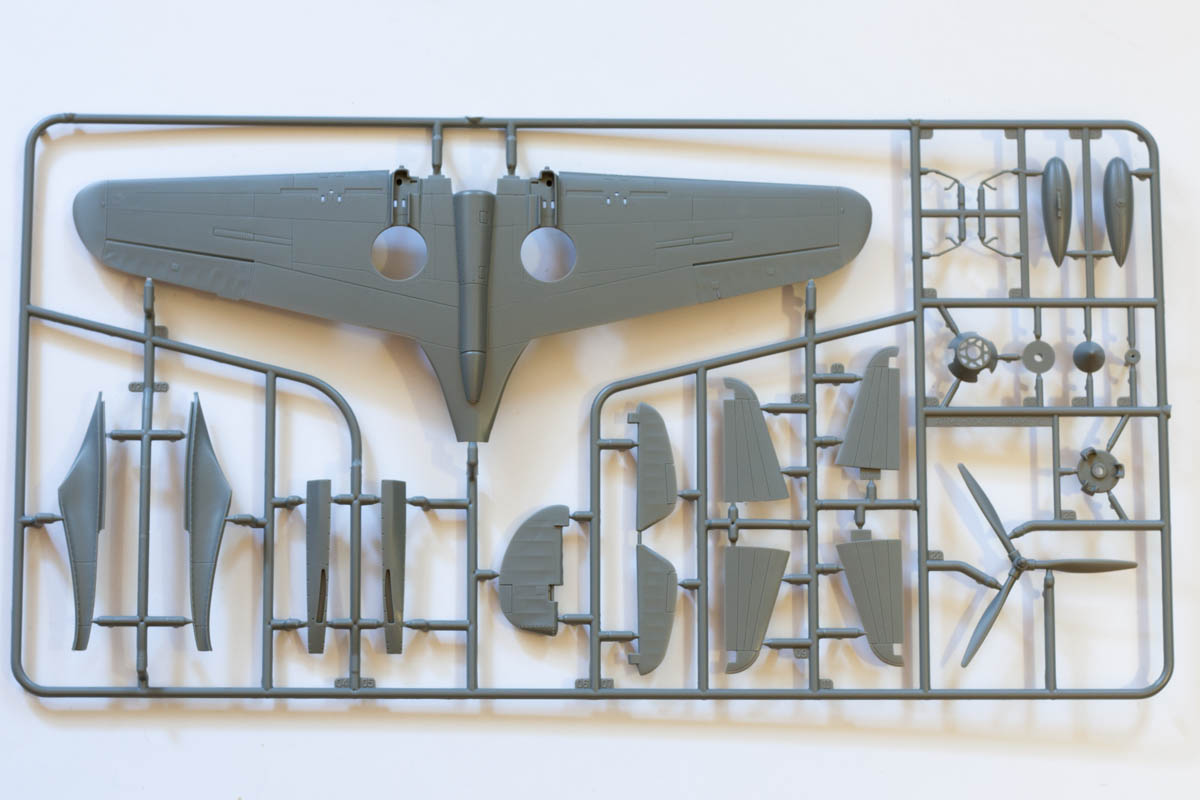
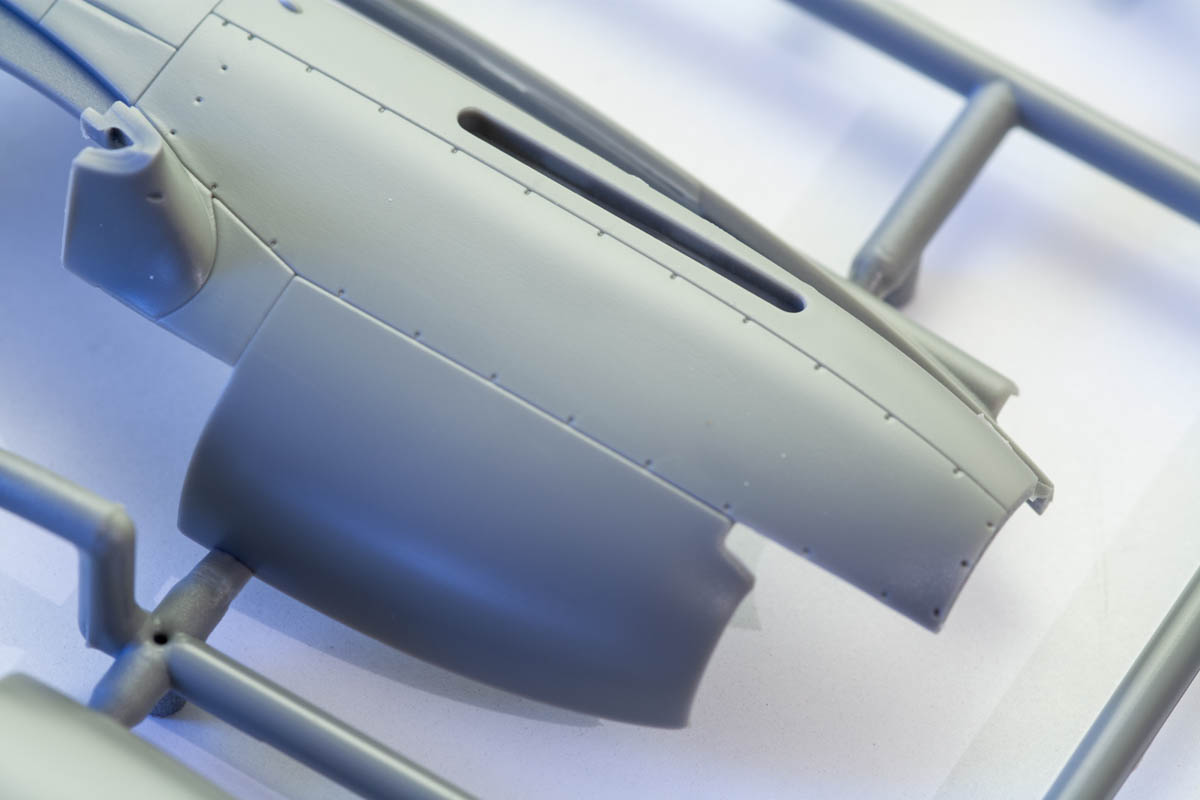
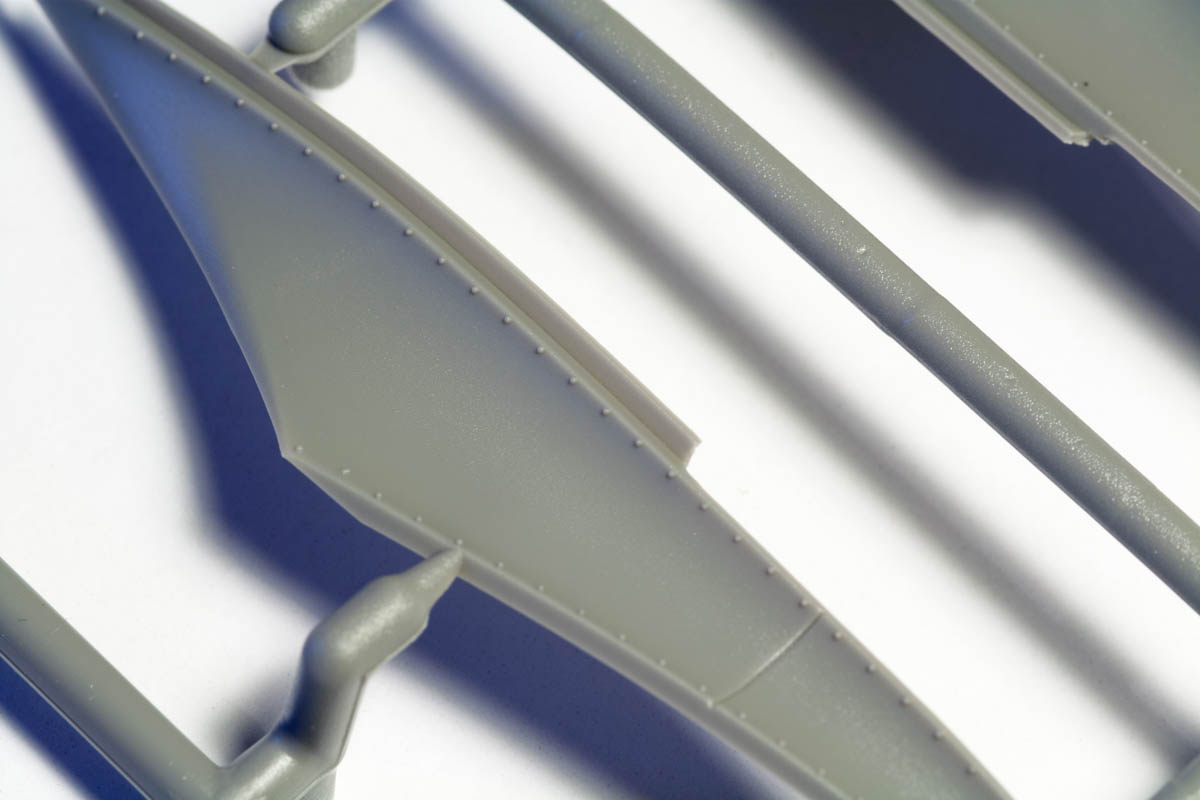
Fuselage and control surfaces show recessed panel lines which are a bit on the wide side. Rivets are recessed as well as raised, fortunately not the whole aircraft is covered in them.
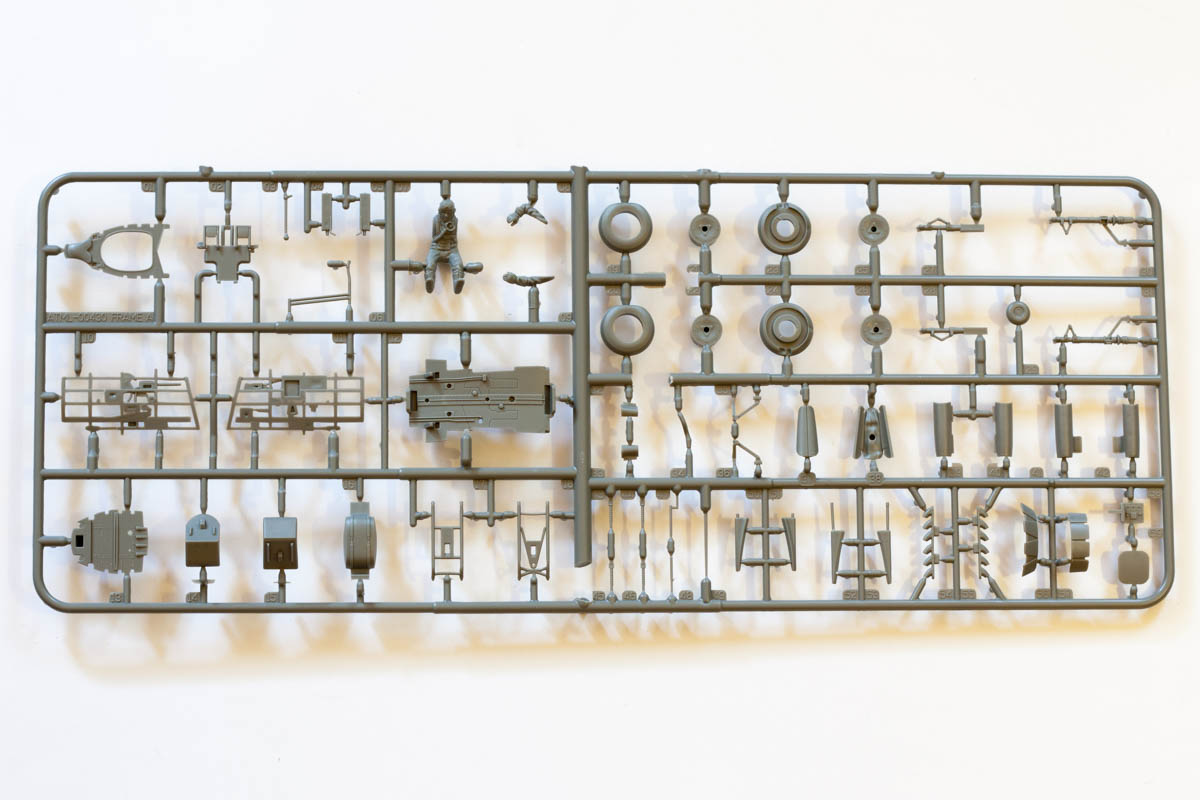
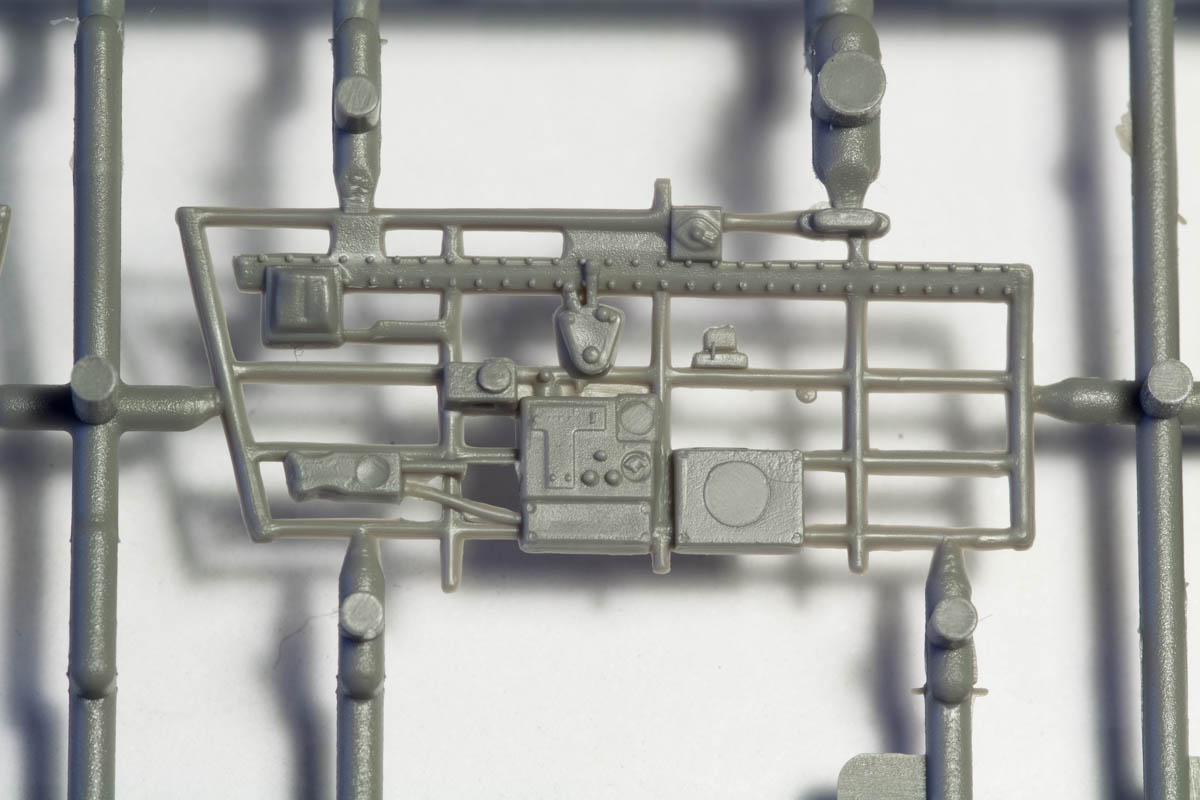
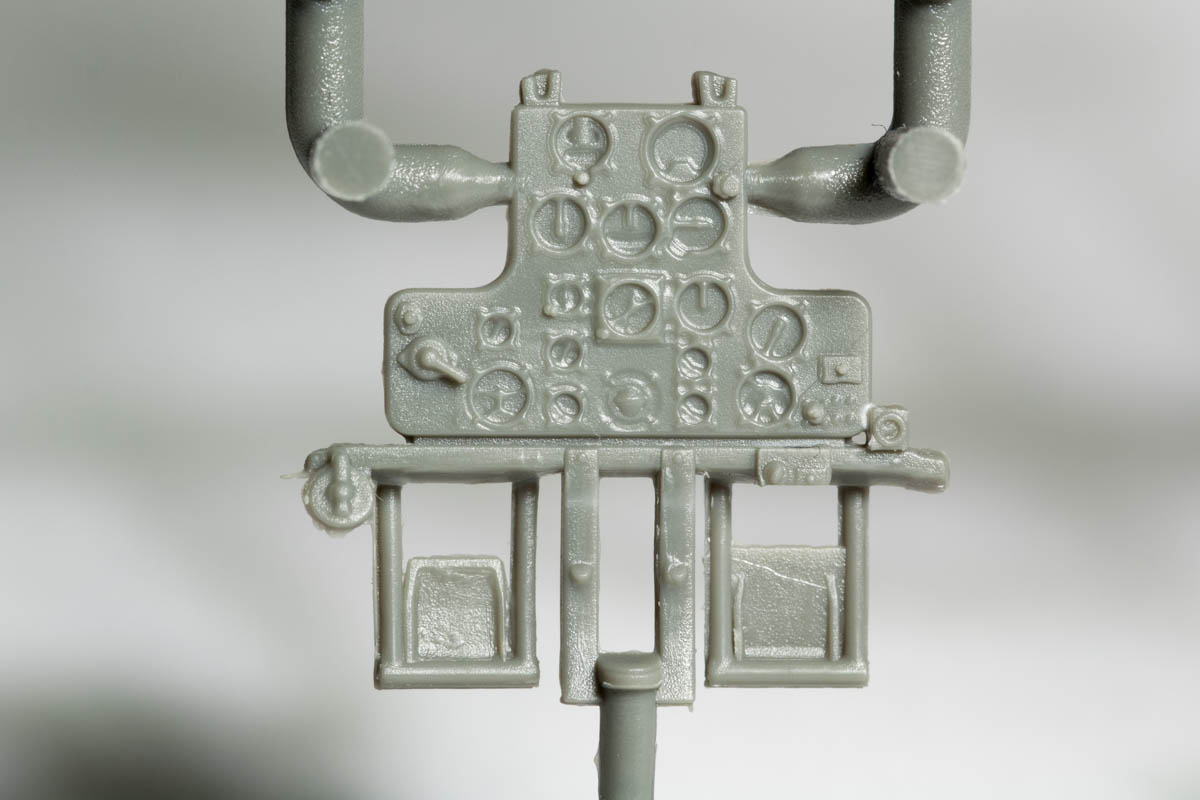
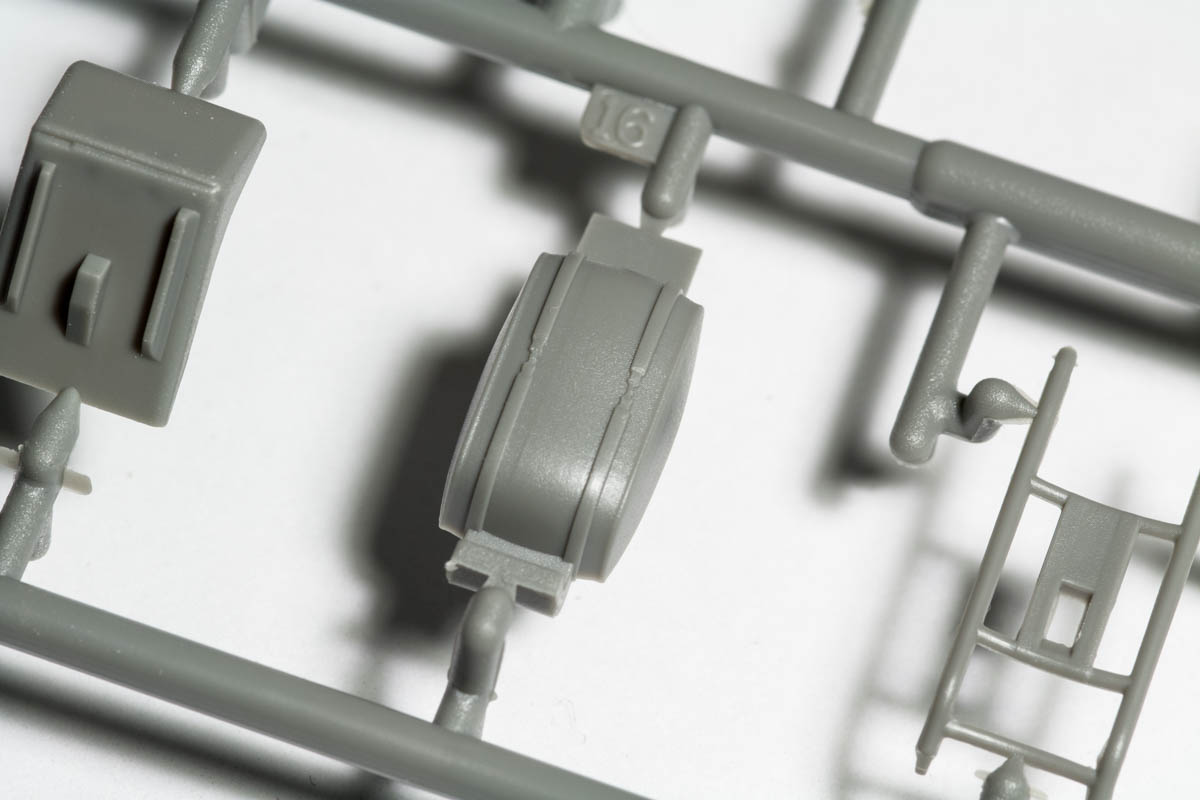
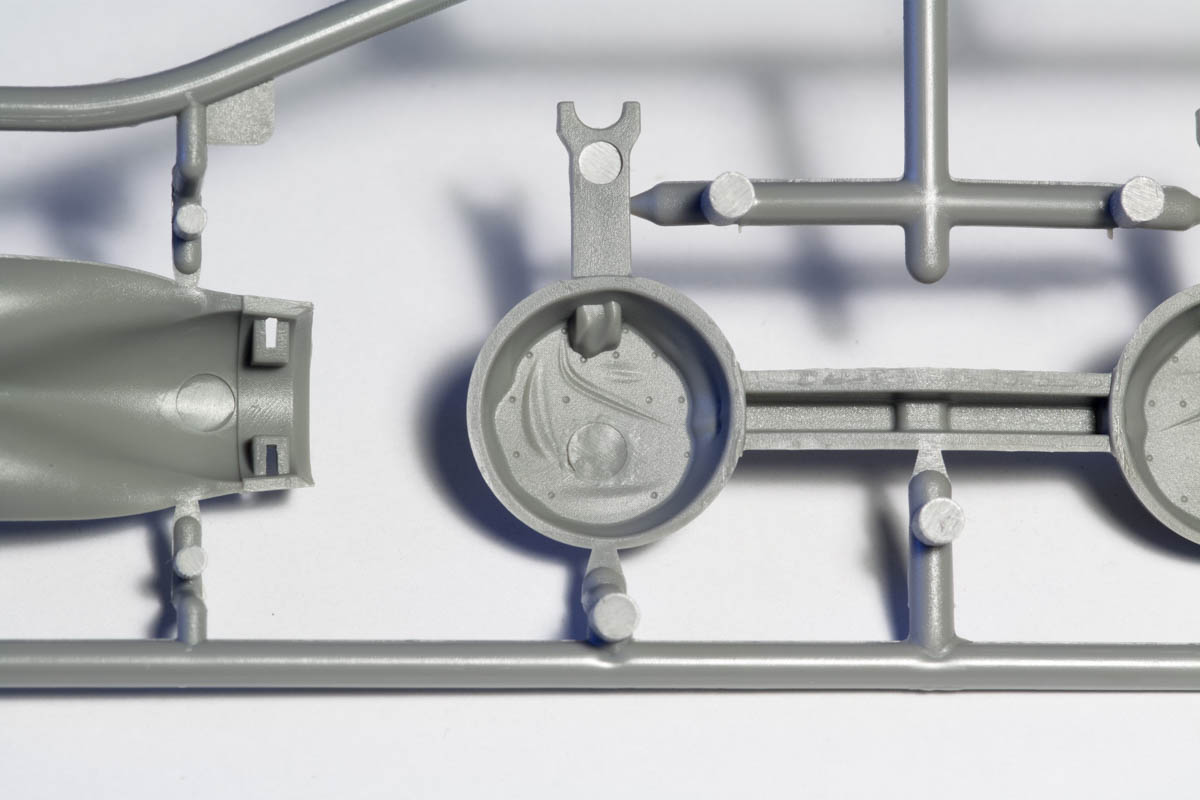
The cockpit is made up of 13 parts, with seperate side framing, gun bodies and fuel tank. Detail is actually quite good, but the side framing suffers from flash. Some cleaning up is definitely required, otherwise the whole thing looks just soft and meh. These parts also sport some nasty ejector pin marks on the side that will remain visible – why Airfix decided to not mold them with the visible side away from the ejector pins is beyond me.
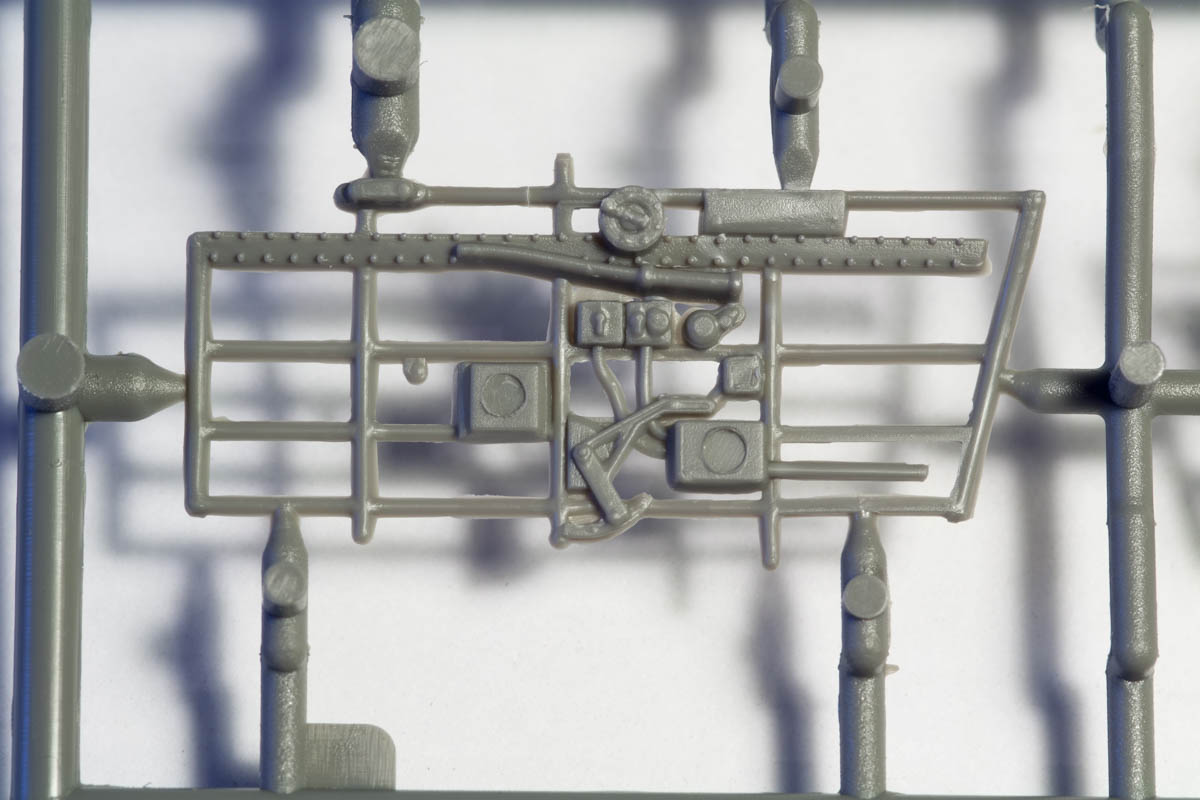
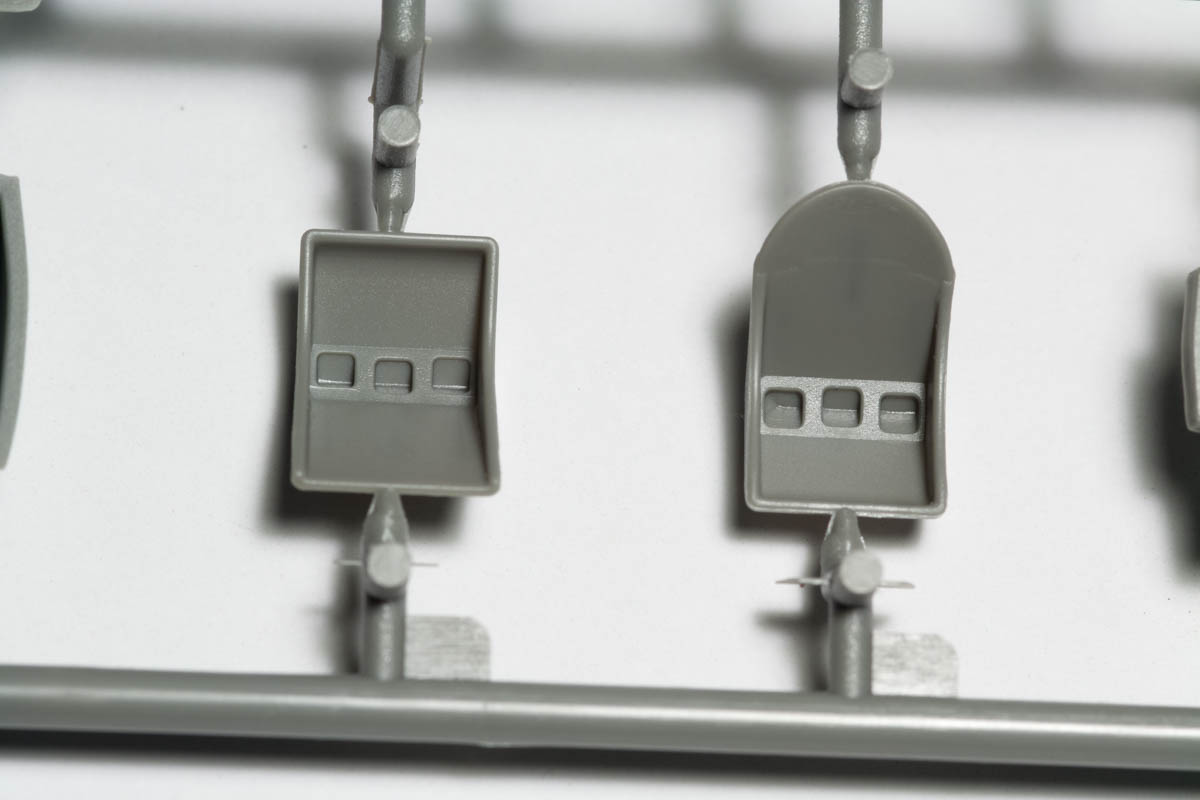
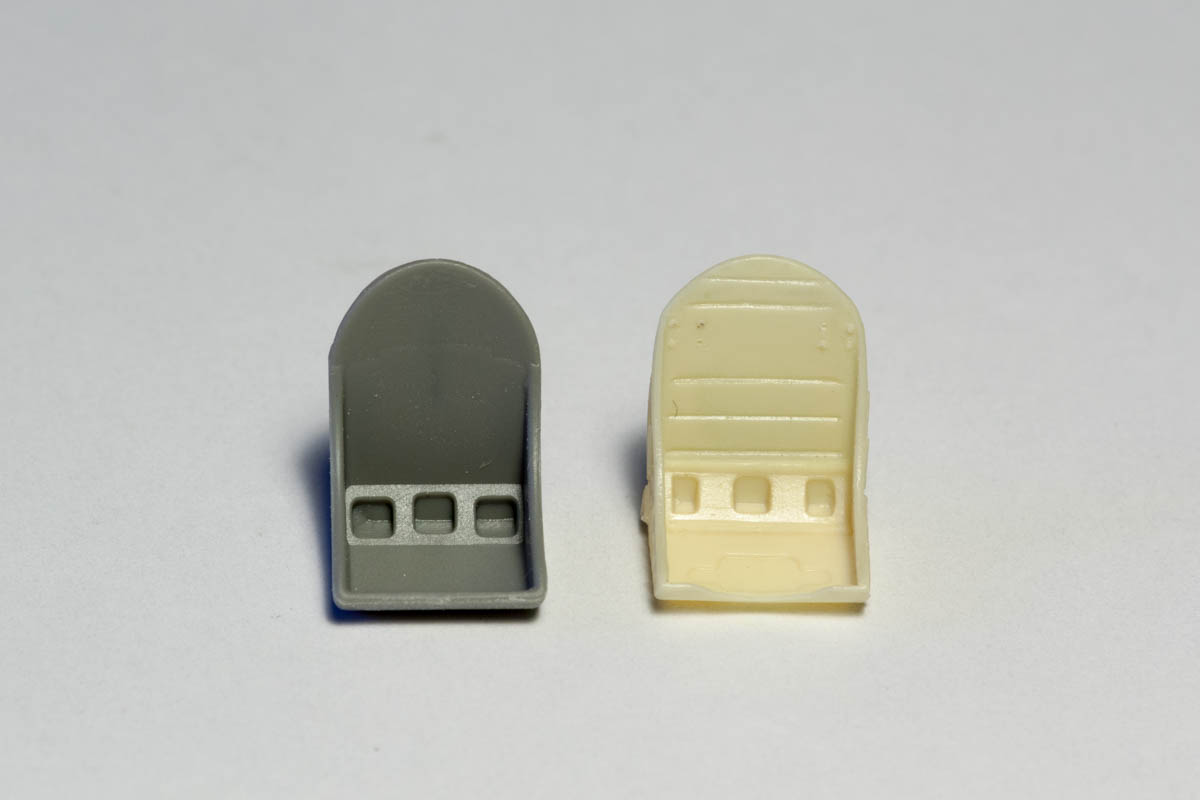
The seats (each marking variant gets its own) are ok-ish for injection molding. Nonetheless, replacing them with aftermarket resin seats will improve the cockpit considerably. I will go with a seat from Ultracast, the difference in detail being obvious.
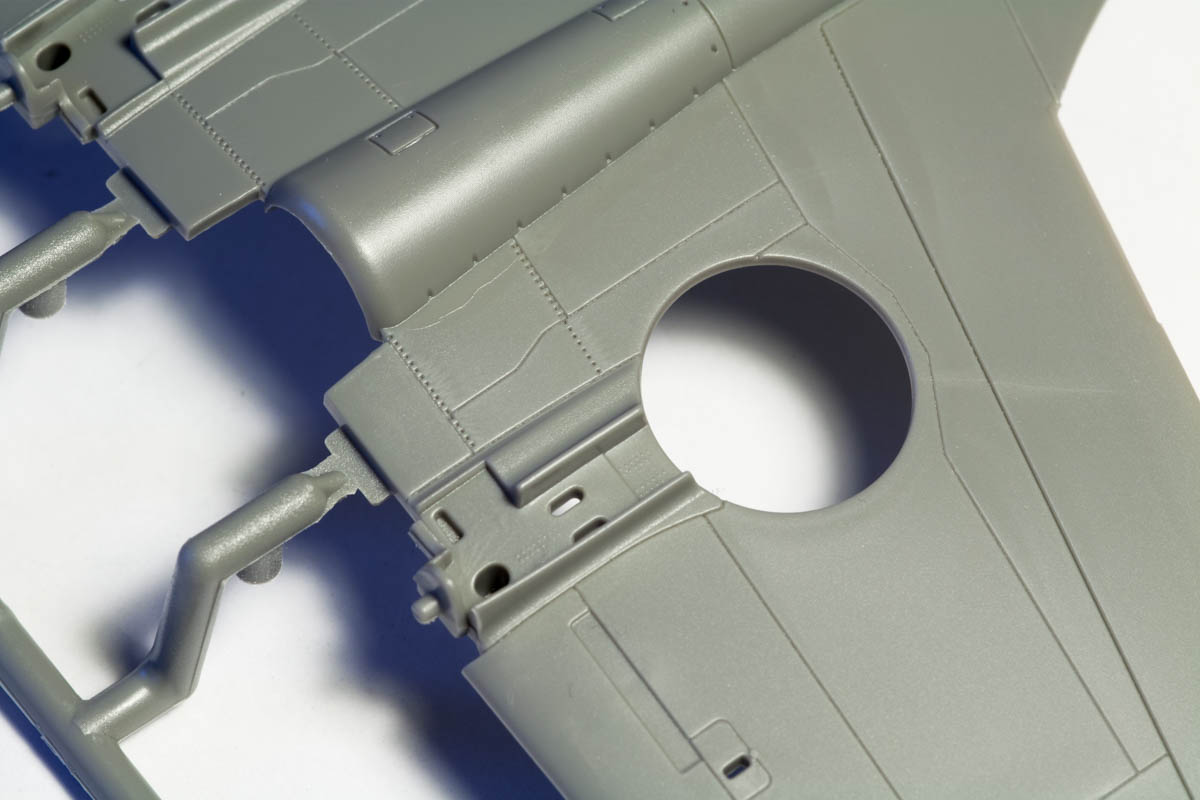
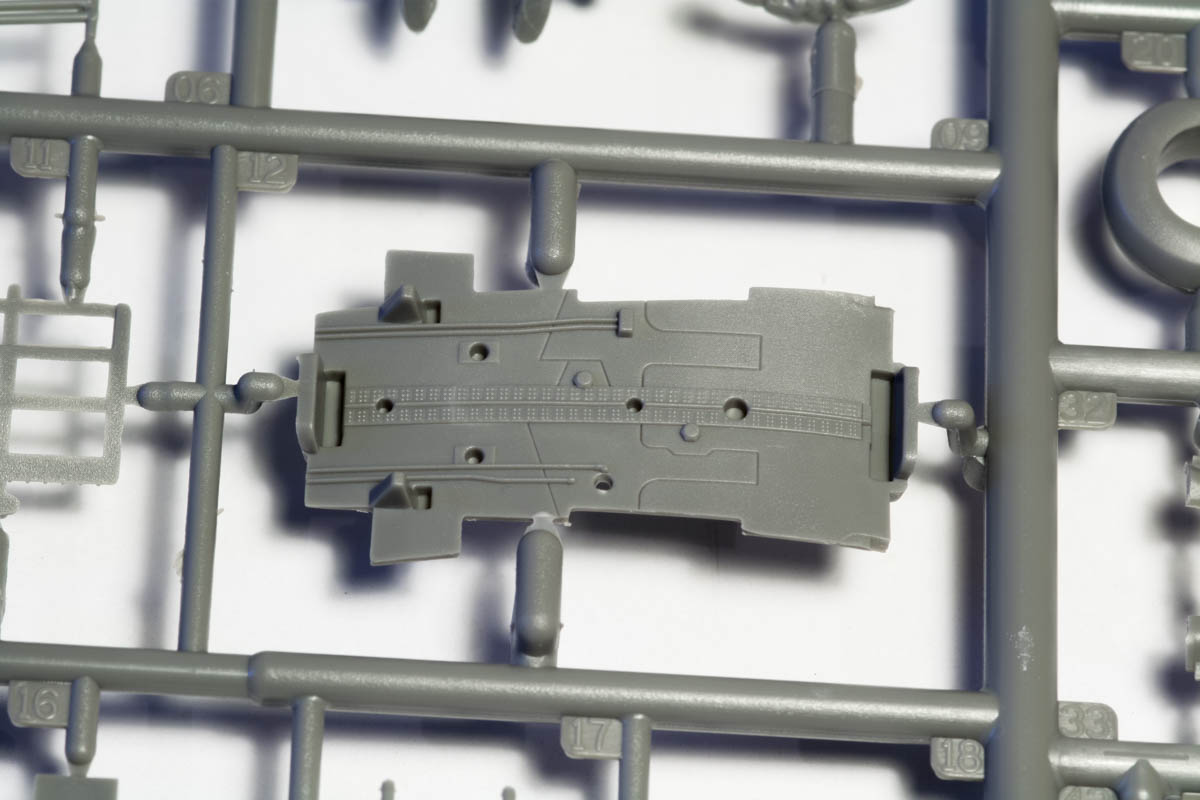
The aft fuselage has internal structure added, in case you want to depict the cargo hatch in the open position. These areas, however, are covered in pin marks, and the whole space is devoid of any detail. Closed hatch it is…
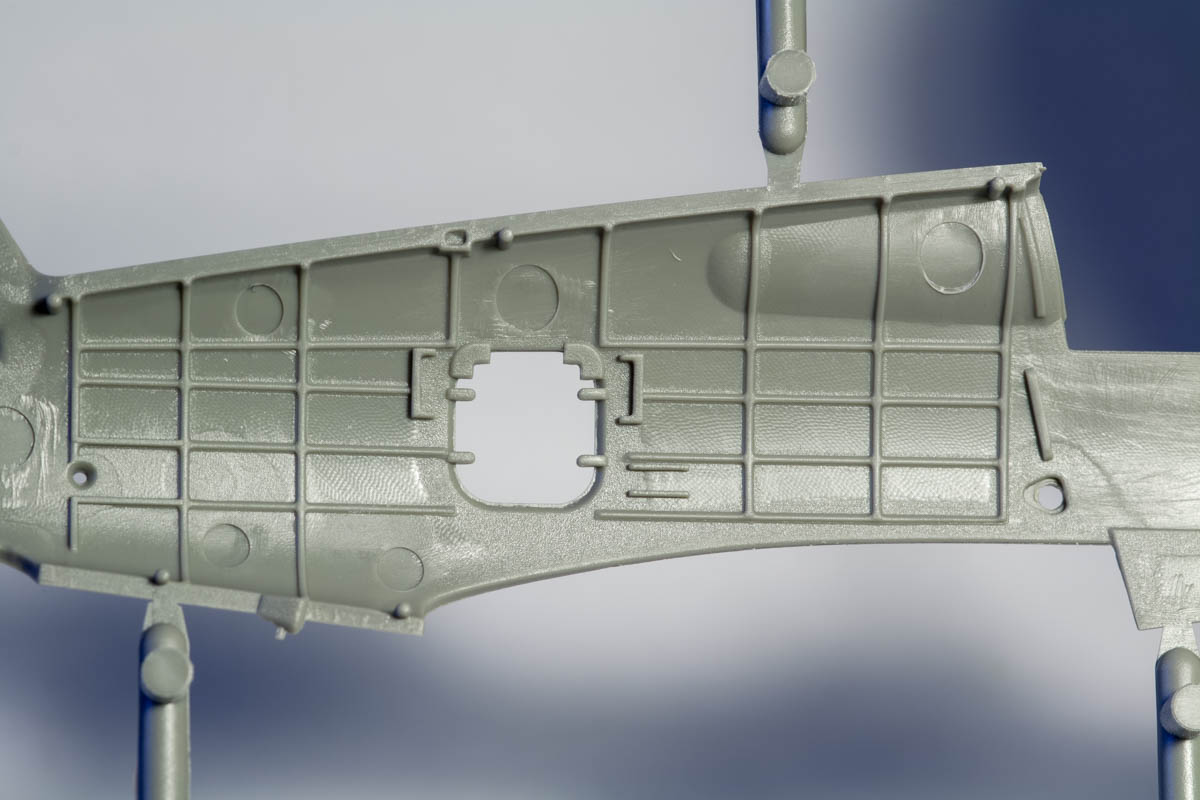
The wheel wells show canvas structure, but again we have a pin mark smack in the middle of the part. Yes, some filler and a couple of swipes with a sanding stick should take care of that – but why, Airfix? Why don’t you mold that part the other way around? I am honestly curious if there is some technical reason behind that.
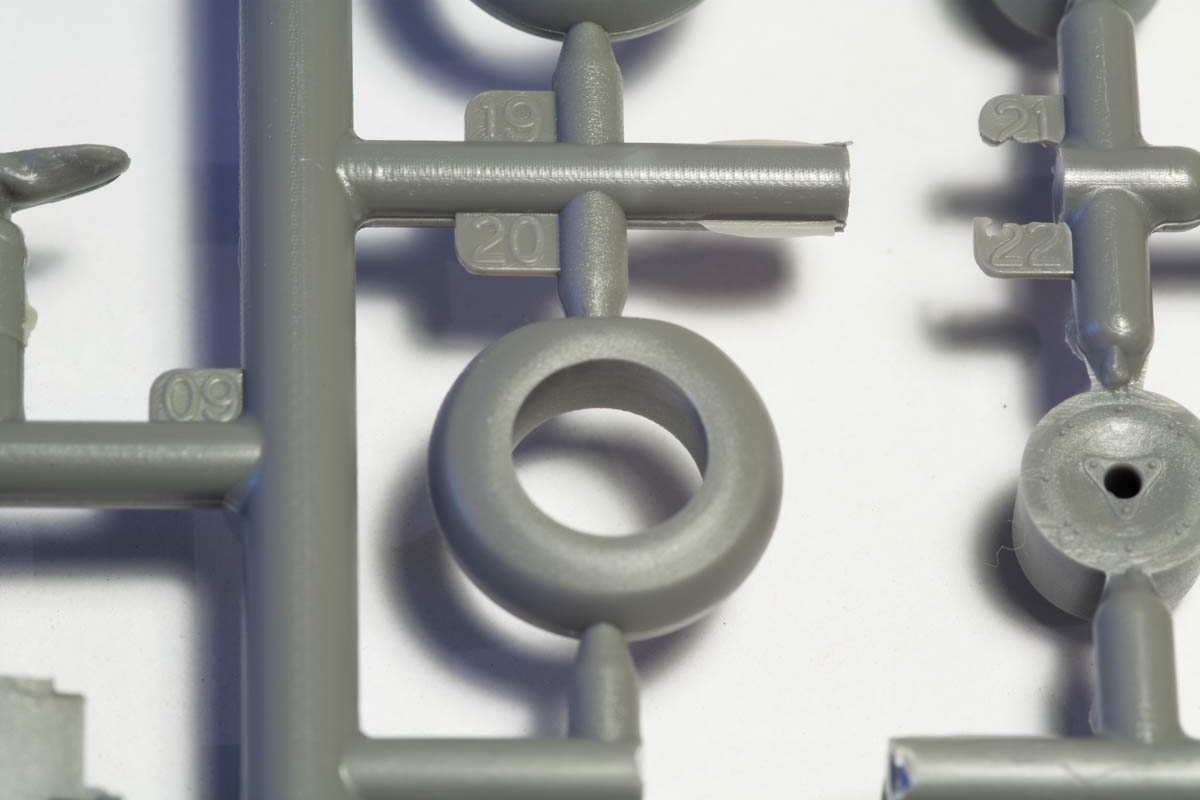
Gun barrels and exhaust pipes are nice, but there is no slide molding fanciness involved – some oldfashioned drilling out the pipes will be neccessary.
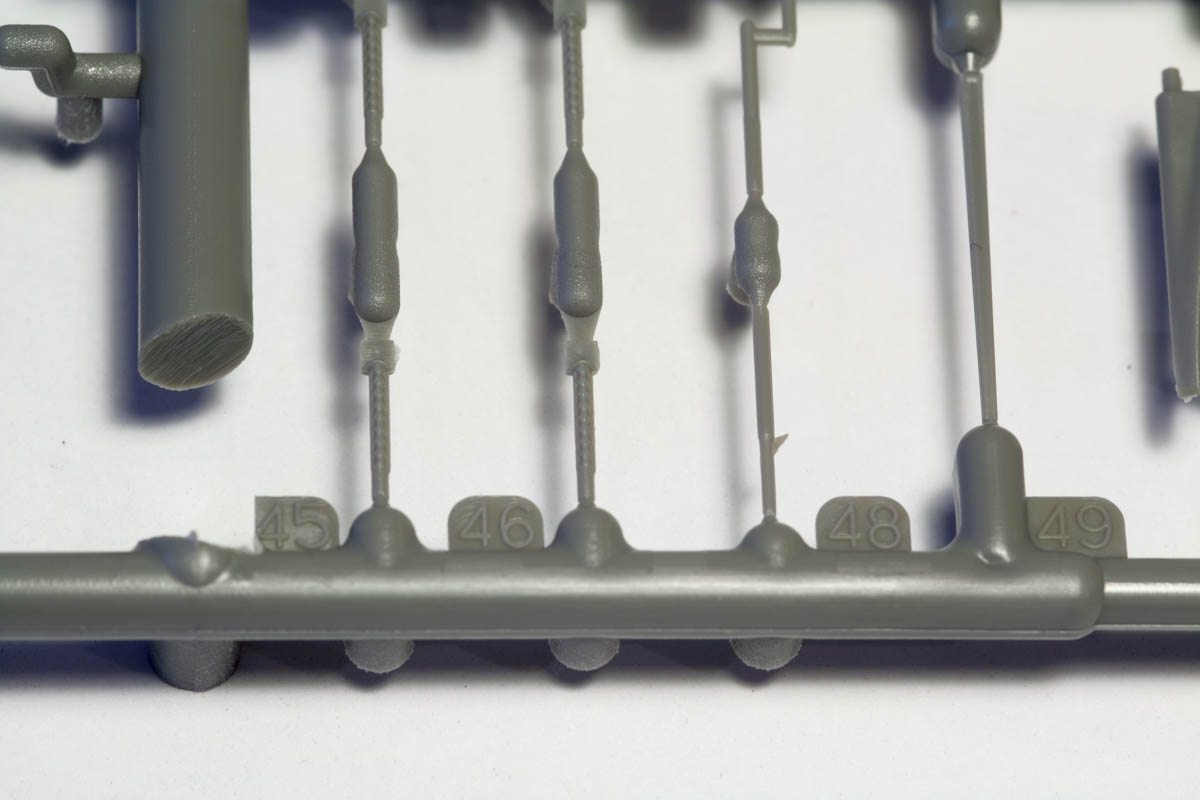
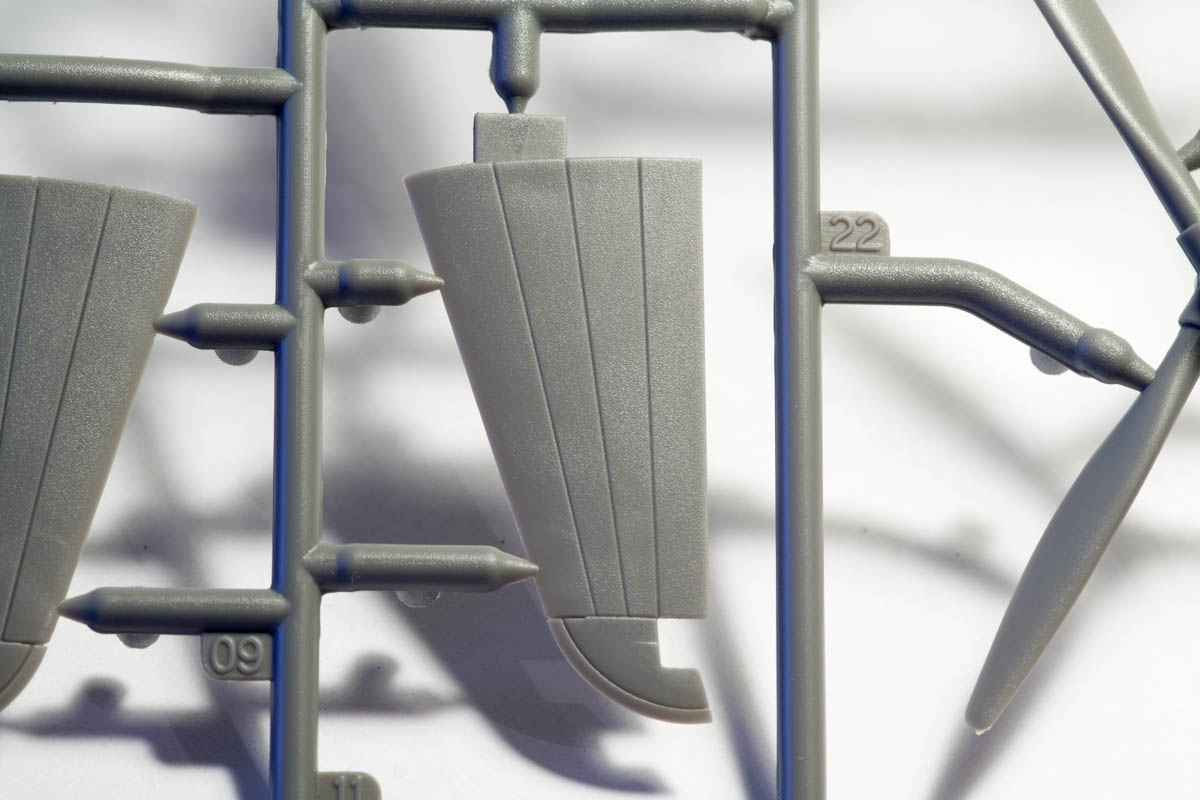
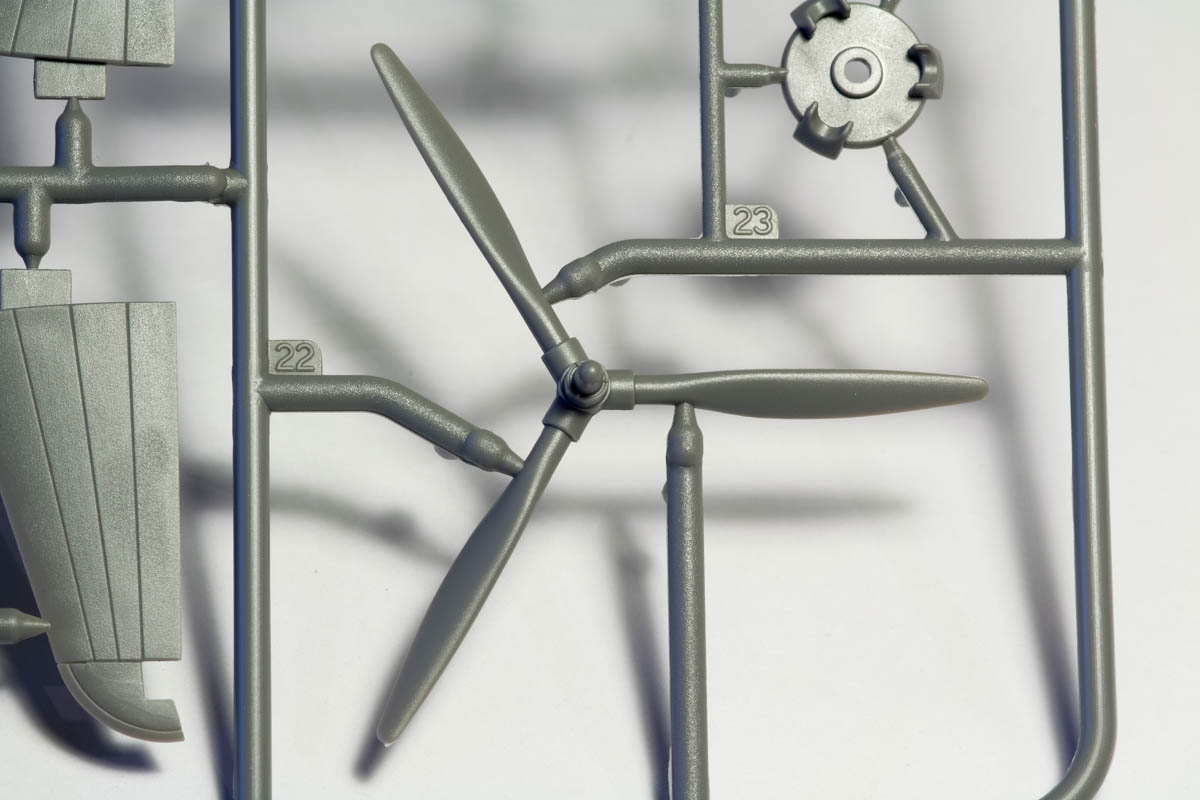
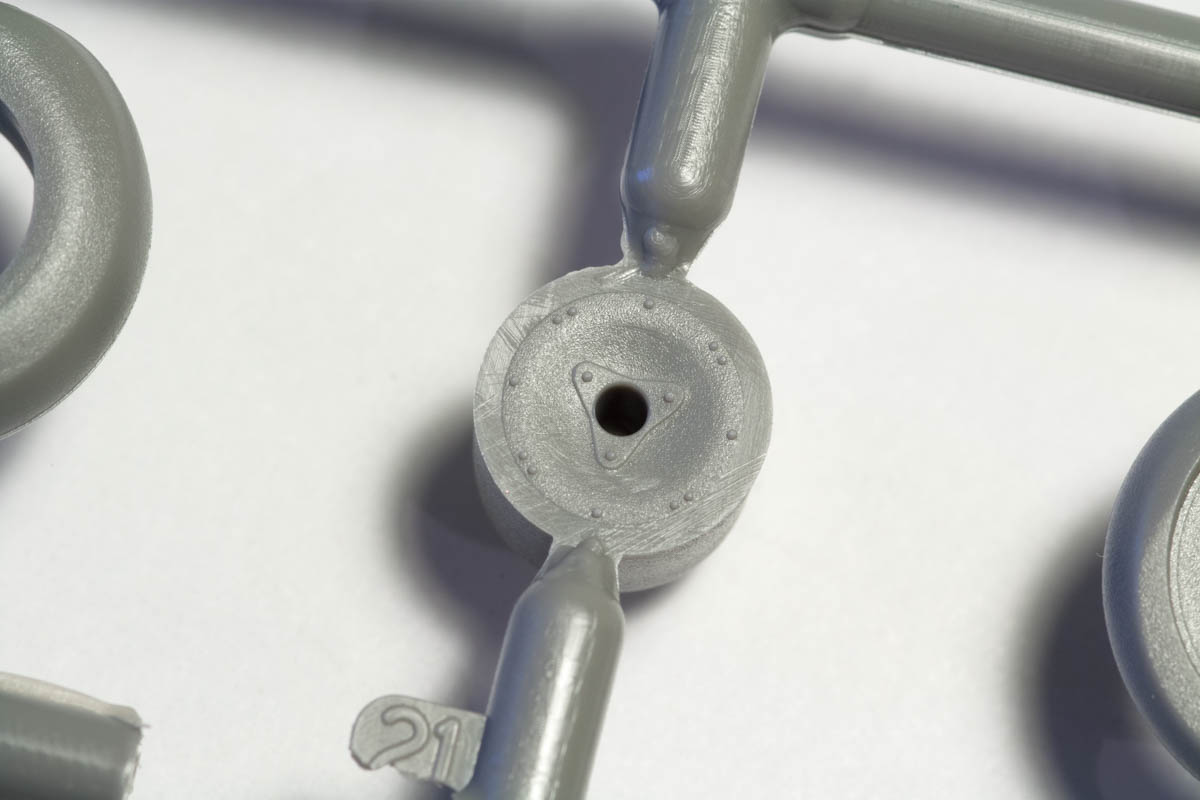
Landing gear and prop are again ok, but nothing to write home about. The wheels come in two parts – tire and hub. The slick, treadless tires look a bit thick to me, and the weighted ones seem to have a serious air pressure issue. You might want to replace them with resin wheels.
First impression?
This is always a bit tricky for me. Sure, there is some slight disappointment with things like flash and ejector pin marks in visible places. On the other hand, certain kits have a tendency to show their worth only after some cleaning up and the first coat of paint. Somehow I think it is all there – so my first impression is: let’s wait for the second impression.